- Nederlands, Belgique / België
- Česky, Česká republika
- Deutsch, Deutschland
- Español, España
- Português, Portugal
- English, Europe
- Français, France
- Italiano, Italia
- Magyar, Magyarország
- Nederlands, Nederland
- Deutsch, Österreich
- Polski, Polska
- Română, România
- Suisse / Schweiz / Svizzera
- Svenska, Sverige
- Suomeksi, Suomi
- Türkçe, Türkiye
- English, United Kingdom
- Slovenská, Slovak
-
Worldwide
"Strategické rozhodnutí": Společnost specializující se na laserové mikroobrábění mohla díky investici do velmi přesného měřicího stroje Mitutoyo posunout zajištění kvality na vyšší úroveň.
Text and photos: Thomas Mendle, Mitutoyo Europe GmbH
In a league of its own: High-End Measurement Systems for Top Quality
One of the most renowned and innovative companies for micromachining and manufacturing using laser technology can be found in Deggendorf, Lower Bavaria/Germany. GFH GmbH specializes in precision manufacturing for the automotive, electronics, medical technology, and textile industries. Additionally, the laser experts produce high-quality 3 and 5-axis machine tools and systems with ultra-short pulse lasers as well as software-supported process know-how for industrial laser micromachining.
The spectrum of laser micromachining at GFH includes laser microdrilling ranging from single pulse to trepanning. Fine cutting with ultra-short pulse lasers up to a thickness of 2 mm, depth engraving, laser turning, and even local modification of transparent workpieces in order to cause a breaking along the introduced modification (cleaving).
It is obvious that high-accuracy measurement for quality control within the micrometre range is an absolute necessity for machining and processing. When it comes to measuring technology, for many years GFH has relied on the precise instruments of the premium metrology technology manufacturer Mitutoyo. "We chose the Japanese brand Mitutoyo not only because of its instruments being characterized by outstanding accuracy but also due to their incredible quality", explains GFH’s Managing Director Anton Pauli.

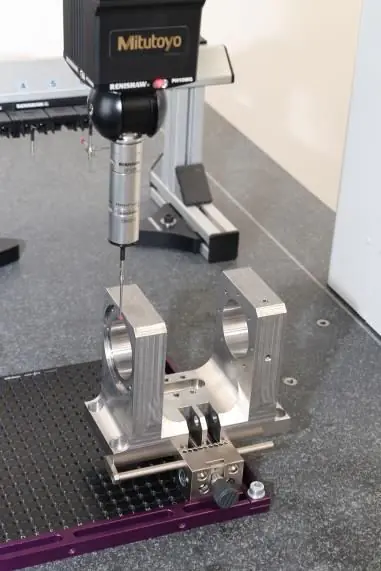
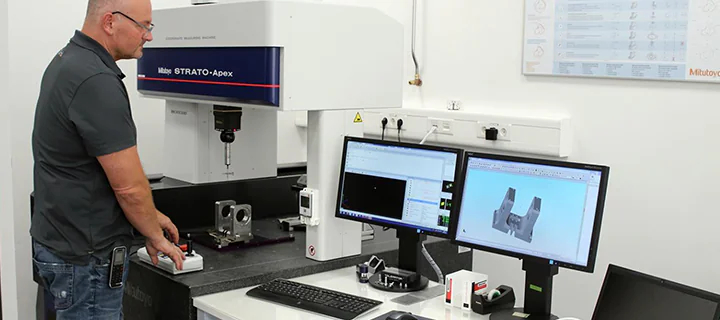
For this purpose, GFH had Mitutoyo install a "Strato-Apex 574" three-coordinate measuring machine with a measurement uncertainty of just (0.7+2.5L/1000) µm in their large, climate-controlled measuring room. "Currently, this allows us to regularly achieve accuracies lower than a single micrometre, as compared to somewhere between 10 and 50 micrometres previously", explains by Markus Brand, Head of Quality & Documentation at GFH. In the factory, the Strato is used as the workhorse for checking incoming goods and inspecting components used in the production of their own machines. "With the Strato-Apex, Mitutoyo offers impressive accuracy over other manufacturers," says Markus Brand.
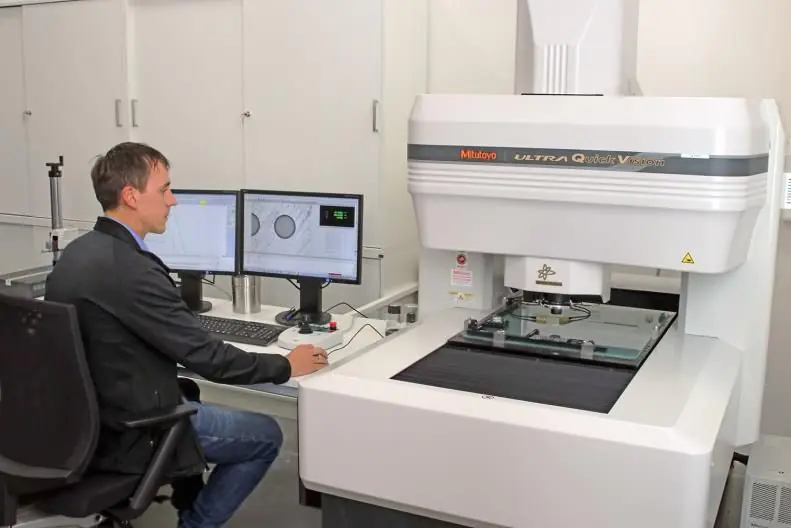
In mid-2017, the company management made the decision to install a high-precision optical measuring machine. After the positive experience with the Mitutoyo coordinate measuring machine, the choice once again fell on a device from the Japanese manufacturer.
The QuickVision (QV) Ultra 404 PRO is one of the most accurate machines Mitutoyo has to offer when it comes to vision measurement.
"This strategic decision was indeed a turning point, which we definitely haven’t regretted", as explained by Anton Pauli. "Our measurement technology has to keep pace with our highly technical and high-precision manufactured products". “This is the only way we can guarantee our quality is of the highest level", states the managing Director of GFH.

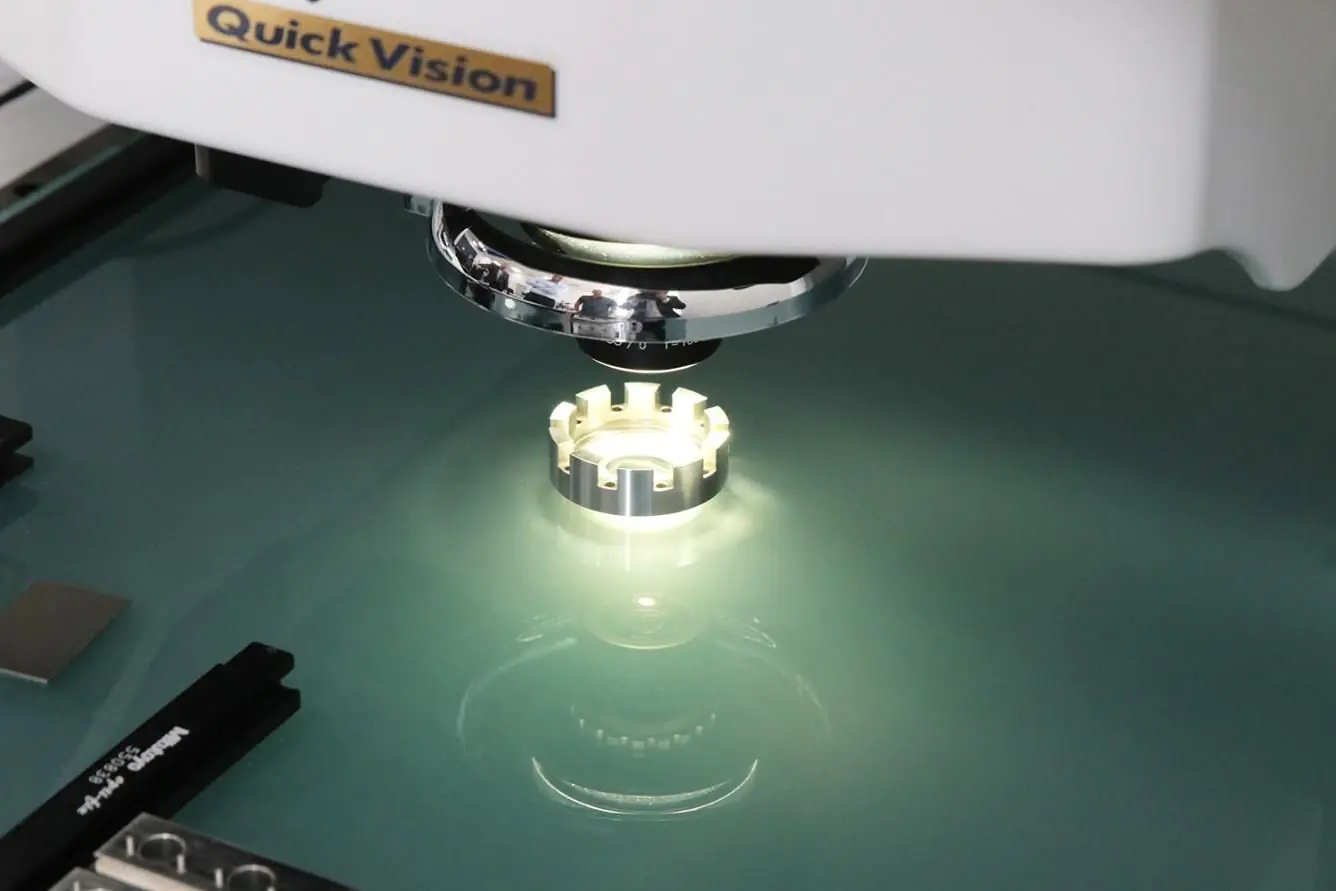
And with the Mitutoyo measuring machine, GFH kills three birds with one stone. Due to its measuring uncertainty of only 0.25 µm, the 3D CNC vision measuring machine is perfectly suited for the calibration or compensation of their own machines. Thus, it can measure circular-lasered test workpieces with an accuracy of up to one micrometre.
Another measuring task, which is increasing in volume, is the acceptance sampling of the machines produced by GFH or from the conversion of machines that are being used by the customers already. "By using the QuickVision Ultra the acceptance process can be completed with the utmost precision". Here a capability test is carried out on actually produced workpieces, the dimensions of which are compared with the target values.
It goes without saying that comprehensive quality assurance is also essential for the workpieces produced for customers. Here the QuickVision Ultra excels with the simple and high-precision measurement of the part’s contours, which is then graphically compared with a data set. In this "DXF comparison", a schematic with the CAD data of the component is placed on the image output by the Formtracepak-AP software and the deviations are determined within an accuracy of under 3 µm.
"We are proud to be able to offer our customers such possibilities", describes Markus Käufl, Mitutoyo's sales representative responsible for GFH. "And the QuickVision Ultra, in particular, is one of our flagship products, as it not only measures with extreme accuracy but can also be used in almost all industries”.


