- Nederlands, Belgique / België
- Česky, Česká republika
- Deutsch, Deutschland
- Español, España
- Português, Portugal
- English, Europe
- Français, France
- Italiano, Italia
- Magyar, Magyarország
- Nederlands, Nederland
- Deutsch, Österreich
- Polski, Polska
- Română, România
- Suisse / Schweiz / Svizzera
- Svenska, Sverige
- Suomeksi, Suomi
- Türkçe, Türkiye
- English, United Kingdom
- Slovenská, Slovak
-
Worldwide
A significant increase of its measuring throughput is what a manufacturer of stamped and stamped bent parts, and assemblies made of metal and plastic has achieved by investing in a sophisticated automation solution from KOMEG, a subsidiary of the Japanese premium measuring instrument manufacturer Mitutoyo.
Text and photos: Thomas Mendle, Mitutoyo Europe GmbH
Automated measurement solution: Idle times reduced by up to 80 percent
Buchen im Odenwald, Germany, February 2019. Drastically accelerated and intensified quality inspection is now possible for the family-owned company SCHEUERMANN + HEILIG GmbH from Buchen im Odenwald, Germany. Operating in Germany and Brazil, the specialist for metal and plastic forming solutions has focused on the development and series production of stamped and stamped-bent parts, technical springs and complete hybrid assemblies. With its products, SCHEUERMANN + HEILIG supplies major customers from the fields of medical technology, automotive, electrical engineering, and smart solutions, as well as, environmental and building technology.
In order to keep pace with the growing demands on its products and the increasing demands of its customers, the manufacturer decided to invest in its measuring technology and thus raise its quality inspection to an even higher level. On top of that, the management aimed to increase the measurement throughput without additional personnel costs.
For decades, the metal and plastics experts have relied on the measuring instruments of the Japanese length measuring technology manufacturer Mitutoyo for their quality, accuracy and longevity. In addition to countless manual measuring instruments such as callipers, micrometres, dial gauges and bore gauges, SCHEUERMANN + HEILIG also uses large measuring instruments from the Japanese manufacturer. These include, for example, numerous profile projectors and two Crysta-Apex S 574 and 776 coordinate measuring machines.
Based on the positive experience, the decision in favour of a Mitutoyo measuring solution was obvious. The order went to Mitutoyo's subsidiary KOMEG from Völklingen in Saarland, Germany, which specialises in the development, planning and installation of customer-specific measurement solutions.
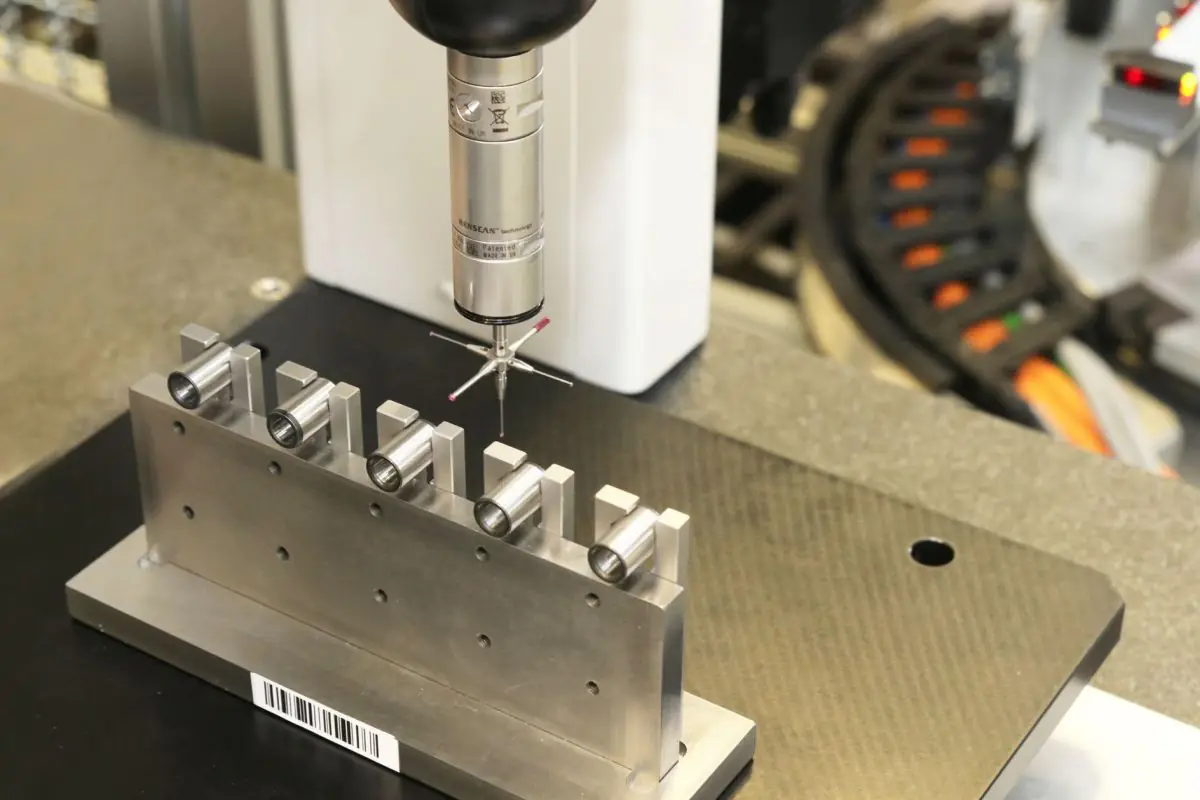
The Mitutoyo Crysta-Apex S 574 CNC coordinate measuring machine with a measuring range of (X x Y x Z) 500 x 700 x 400 millimetres and a touch-trigger measuring head had already proven to be ideal for the components to be inspected. Thanks to the integrated temperature compensation function of 16 to 26 degrees, vibration damping and high travel speed, the Crysta-Apex S is predestined for use in production environments. The measurement uncertainty of only 1.7+3L/1000 µm (18-22 degrees) guarantees extremely precise results.
Consequently, KOMEG's concept included two "574s", each equipped with two probe change racks which are alternatingly loaded by robots. The custom solution also includes a shelving system in which up to 50 pallets with clamping devices and workpieces can be stored until they are inspected.
Workpieces of various types and dimensions are inspected in the measuring cell. “Their size ranges from around 5 millimetres to roughly the size of a beverage can", says Patrick-Peter Gauer, Project Manager at KOMEG.
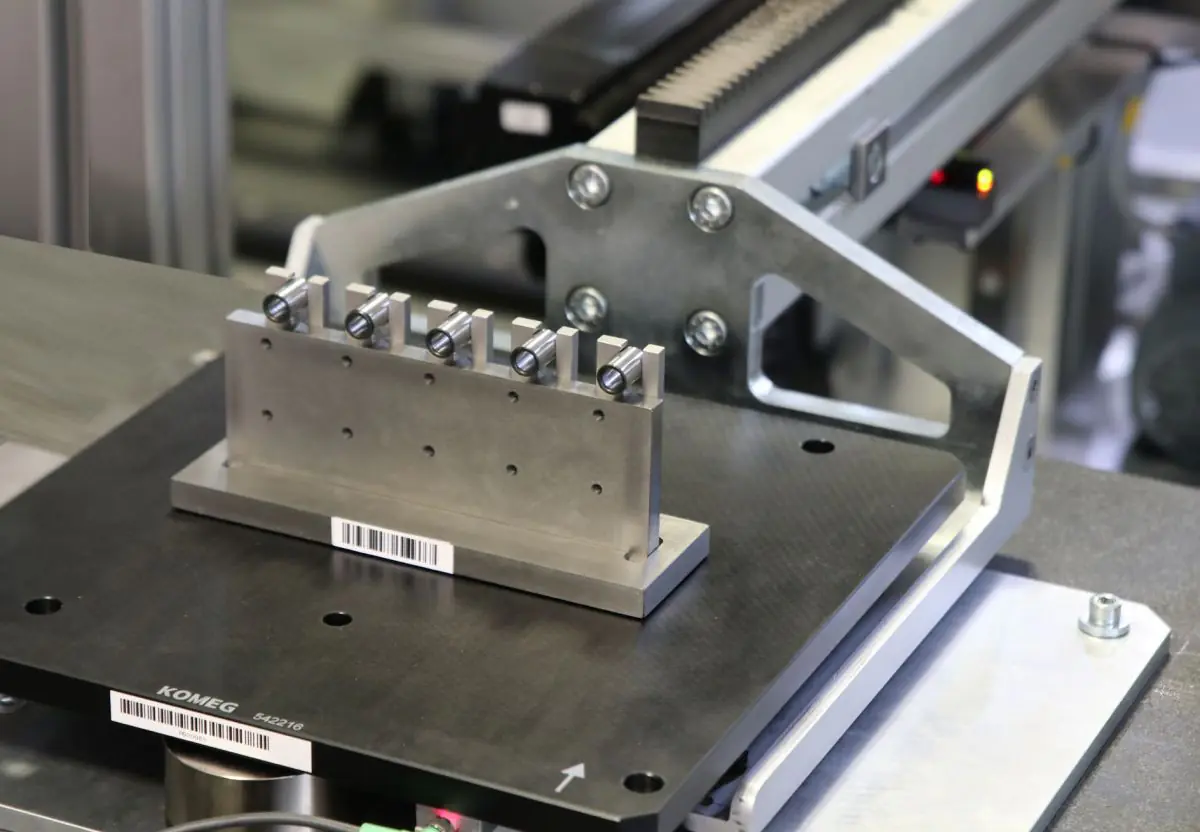
"Compared to the manual loading of the coordinate measuring machines, the automation solution saves a lot of time and effort. The idle times of the CMMs alone have been reduced by up to 80 per cent", explains Gauer.
Samples are taken and measured from each production machine in the plant at product-specific intervals. The operator positions the sample on a pallet with a clamping device specially manufactured for the respective workpiece.
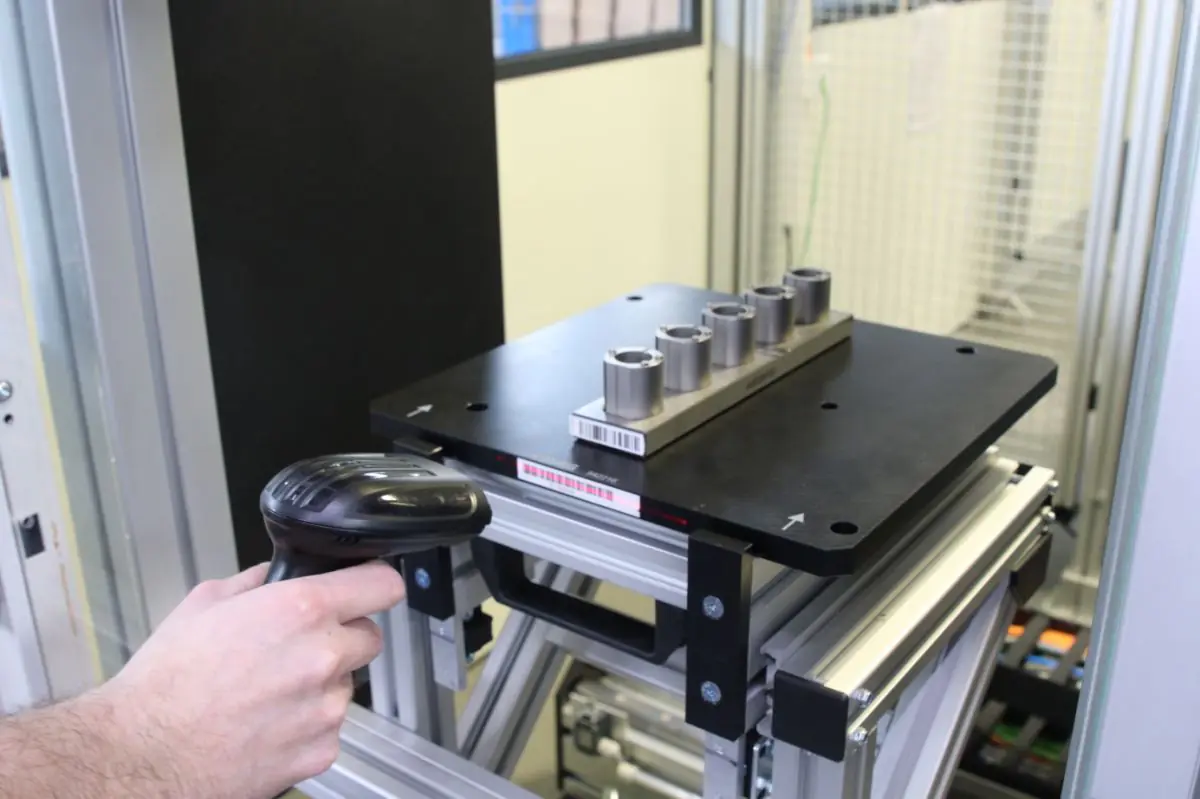
Both the clamping device and the pallet are provided with a barcode. By scanning the barcodes, the pallet and clamping device can be "married" and, if necessary, separated again after the measuring process.
After logging on to the central computer of the system using a personalised data chip or password, the operator scans the barcode printed on the order card, places the pallet in the I/O station of the cell and registers the order with the system by scanning the pallet barcode. The robot transports the pallet to one of the 50 rack positions in the cell and feeds the two coordinate measuring machines alternately with the orders that are further along in the sequence.
A third-party software specially adapted to this measuring solution for KOMEG controls all measuring processes. The program ranks new orders at the end of the loop. On a large, widely visible screen, the measuring sequence can be read off based on the operator's name as well as the batch and part number. The display colour on the screen indicates which measuring task is finished (green), which task is in progress (yellow), and which ones are still in the queue (white).
The software also allows rules to be set. For example, certain workpieces can generally be processed preferentially, or orders from certain machines or employees can be moved up in the loop by default. In addition, the operator (depending on the authorization) can manually move a newly entered task up in the queue if a quick measurement is required.
Reading the barcode on the clamping device assigns the corresponding part program for the coordinate measuring machine to the job. It is executed automatically after the robot has loaded the pallet onto the pallet holder mounted on the granite plate of the CMM.
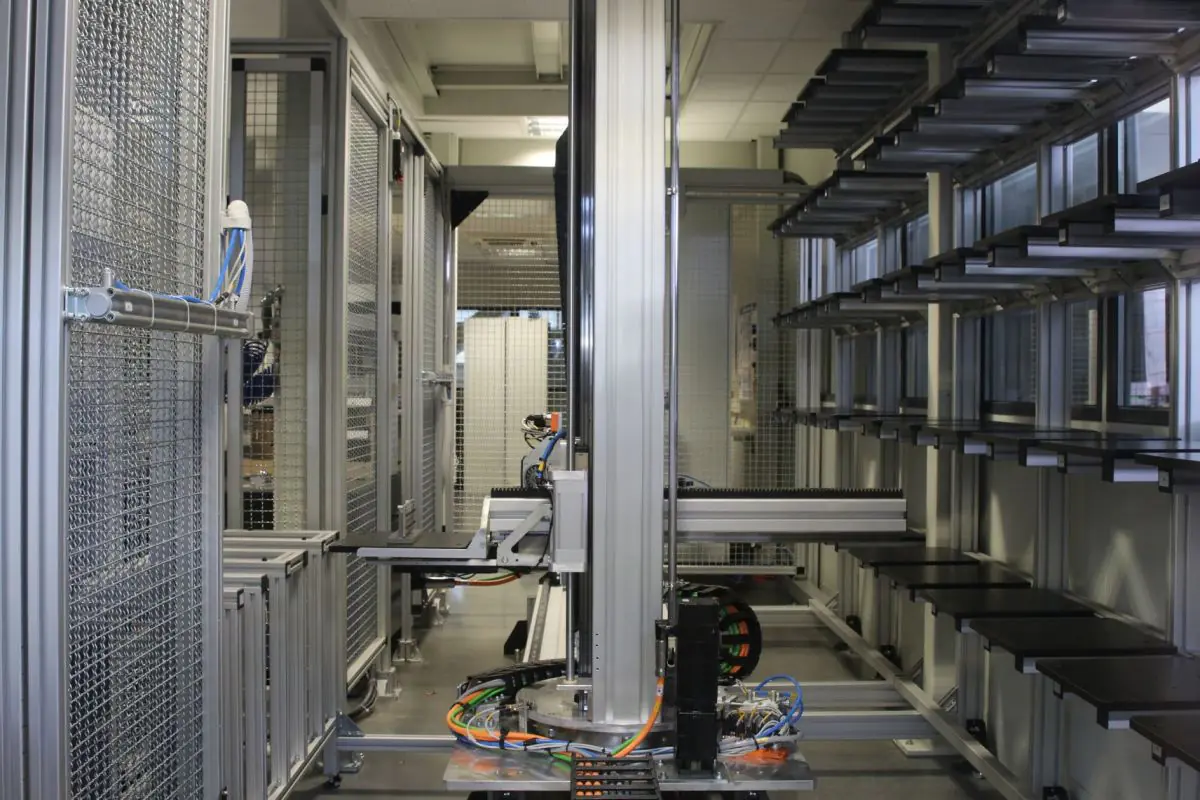
Once the measurement has been completed, the operator has the choice of having the workpiece output at the I/O station or repeating the measurement. It is also possible to print a measurement protocol and to store and evaluate the data in the CAQ system.
Nonetheless, KOMEG's custom solution not only drastically accelerates and simplifies SCHEUERMANN + HEILIG's quality inspection, but it also offers further advantages. The measuring system can run overnight and thus process measurement orders accumulated during the day. The two Crysta-Apex S machines can then complete their qualification cycles without any further involvement by an operator.
The trendsetting measuring system could as well be used in various configurations in other industries", says Patrick-Peter Gauer with confidence "since efficient quality assurance is becoming more and more important across all sectors".


